

Growing Chicken of the Woods
Chicken of the Woods, "Chicken", "COTW" or "Sulphur Shelf" are one of the most conspicuous of mushrooms - and are often seen by passersby from the roadside due to its bright yellow and orange-colored clusters at the base or on the side of trees. This beautiful, well-known prize to foragers can also be grown. Chicken of the Woods mushrooms are slightly parasitic to their host tree in nature and therefore require a different planting strategy than most other log-grown species. To grow these beauties, the log must first be treated by pressure cooking, steaming, or boiling. This extra step is well worth it though, as logs can fruit for many years. Follow the six steps below for preparing and planting your logs.
Planting your Chicken of the Woods logs
1. Cut the logs
Chicken grows on the hardwood tree species of Oaks. While it can be found on other wood species in the wild, cultivation on those species has not been tested. Cut healthy, living trees or branches for Chicken cultivation. Diseased trees or logs that fell a long time ago do not work. Cut the logs into pieces that will fit into the autoclavable bags used to treat the logs in the next step. Typical logs size should be anywhere between 8˝x 8˝ to 11˝x 11˝. Avoid using very small pieces of wood (less than two pounds) as they will not be as fruitful. Field and Forest Products offers kits that include autoclavable bags, plastic collars and foam plugs used in the following steps for each log treatment. When cutting the logs, keep in mind the size limitations of the pressure cooker, steamer, or boiling vessel that will be used to treat the logs.
2. Treat the logs
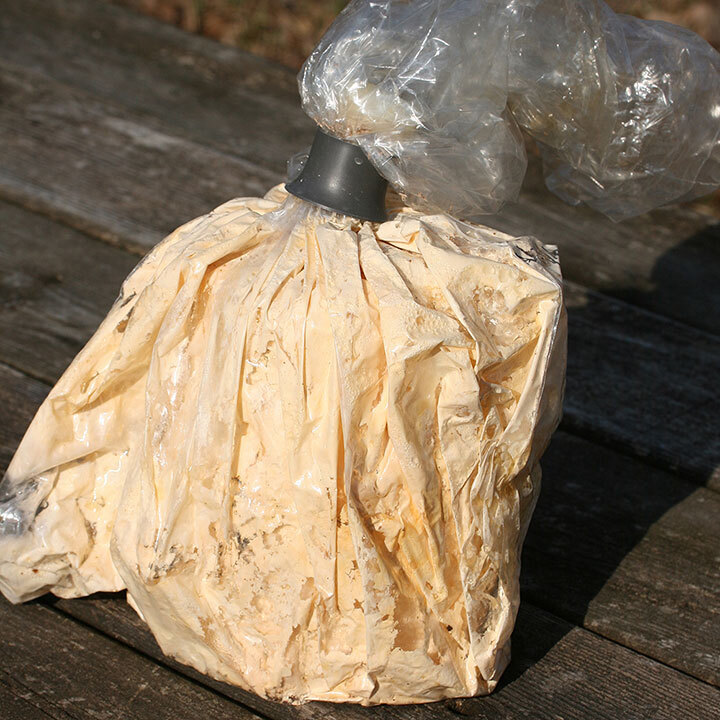
Place each log section into an autoclavable bag and push the entire opening of the bag up through the plastic collar and insert the foam plug. There are three methods to treating log segments. Follow the procedures below for the method you choose. If your logs seem dry, they may be soaked for up to 1 hour prior to treatment. After treatment, allow the log to cool before proceeding to step 3.

Bags, collars, and foam plugs for treating logs
A. Sterilizing or Pressure Cooking This is the most effective treatment. Place the bagged log into the pressure cooker. Avoid having any plastic touch the canner surfaces except where the log rests on the canner rack. Add enough water to achieve a 120 minute cook, usually requiring several inches of water. The log will be partially submerged. Important: Always read your pressure cooker manual for operation instructions as pressure cookers vary in design and function. Sterilize at 15 psi for 120 minutes. Cooking can also be done in separate cooks, 60 minutes each.
B. Steaming Placed the bagged log into the steamer. Steam the log for at least 3 hours. Contamination rate is lowest when steamed for 6 hours. Monitor water levels during steaming.
C. Boiling Place the bagged log in a large pot and maintain a low rolling boil for 1 hour. Avoid getting water into the bag. You do not want the log to be excessively wet.
*note: if water does get into the bag, simply pour it out prior to inoculation
3. Inoculate
Once the logs are cool, they are ready to inoculate. Clean the inoculation area and spawn bag well with a disinfectant and limit air movement to reduce the risk of contamination during inoculation. Break apart the sawdust spawn by kneading the bag. Cut or tear open the spawn bag, remove the collar and foam plug from the bagged log, and pour 1 to 1 ½ cups of spawn into each log bag. Replace the collar and foam plug quickly, then manipulate and jiggle the spawn around so that the top and bottom (cut ends) of the log are coated with spawn.
4. Incubate
Place the log in an area at room temperature (55-70°F ideally) to incubate for 2-3 months. The mycelium will spread out across the surface of the log - creating a white coating that eventually will turn yellow then orange as the log is colonized. After 2-3 months, the log should be mostly covered in mycelium and ready to bury outside. Green mold contaminants may also develop, but they are only a nuisance and should not influence the Chicken of the Woods.
Log fully colonized with Chicken of the Woods mycelium
5. Bury the logs
After incubation, remove the log from the bag and bury it vertically in a shaded spot outdoors so the top of the log is 1-4˝ inches above the soil surface. Alternatively, you may place the log on the surface of the soil or only partially buried then mulch it in with wood chips so it is nearly covered. Mark the location of the log as they can be easily hidden or lost.
6. Mushroom harvest
Chicken of the Woods mushrooms fruit the summer approximately 1-2 years after burying. The logs can fruit for many years, so continue to check back year after year. To harvest, simply pull and twist mushrooms off while they are still plump, otherwise they will dry and get too woody. Store clusters in the refrigerator until they can be enjoyed. When cooking, discard the woody core and focus on the fronds.